
Blog
10 Mountain Biking Mistakes Beginners Should Avoid

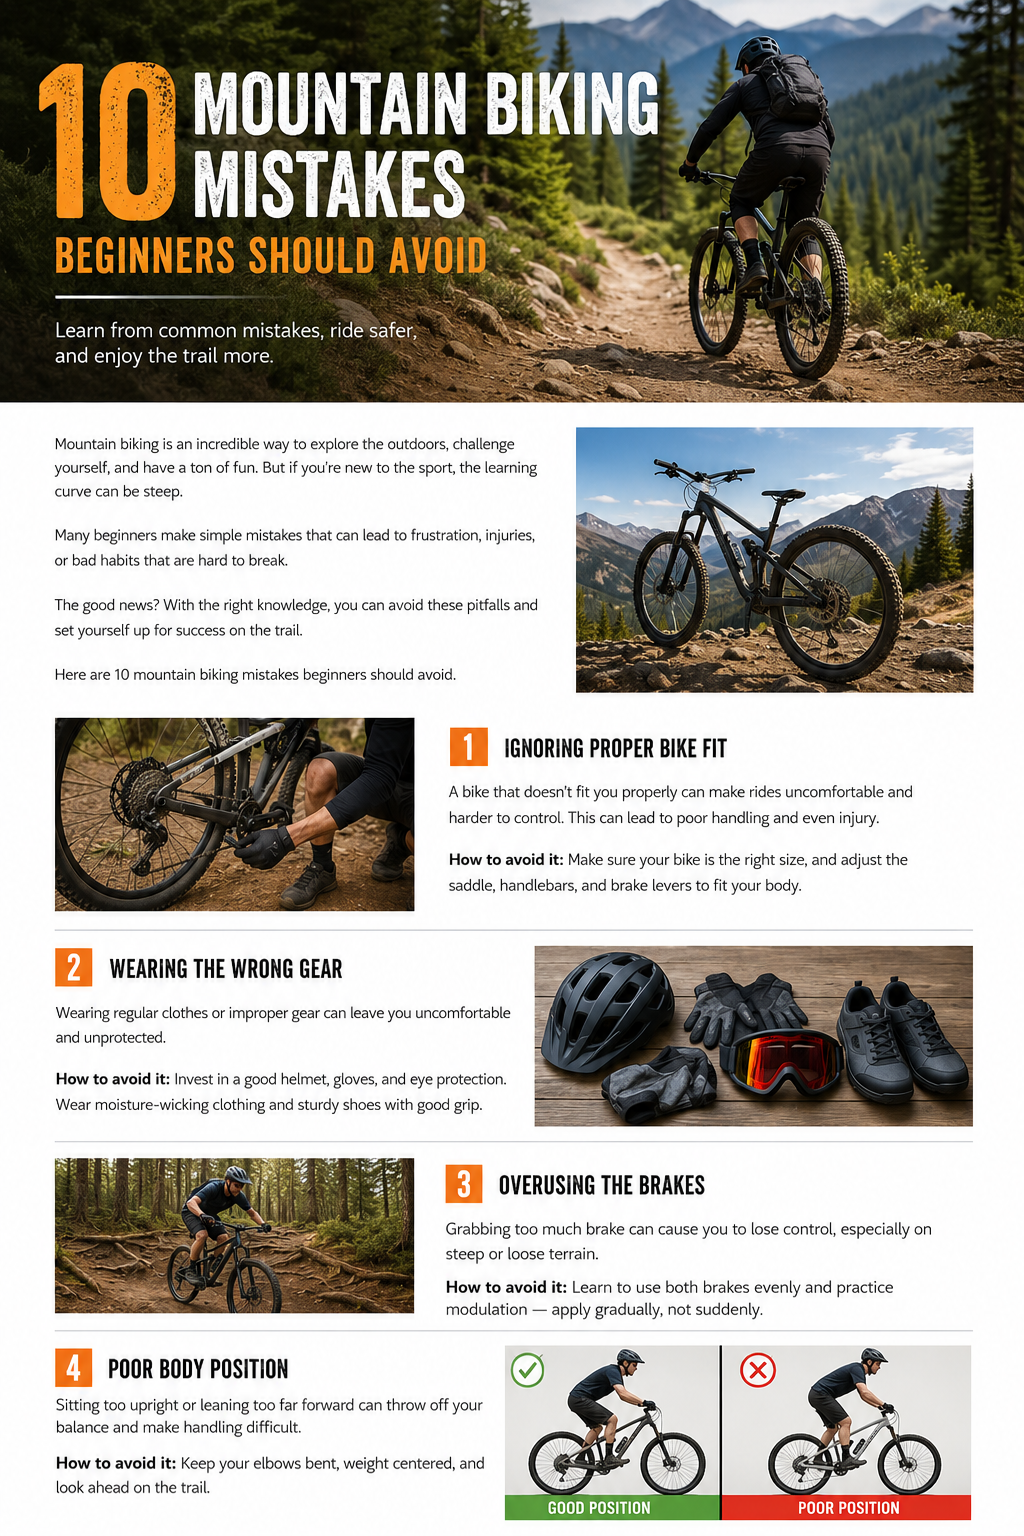
Mountain Biking Mistakes Beginners Should Avoid
Mountain biking is one of the most exciting ways to experience the outdoors. It combines fitness, adventure, technical skill, and the freedom to explore trails that ordinary bicycles simply cannot handle. Whether you are riding smooth cross-country paths, technical singletrack, rocky descents, or steep climbs, mountain biking offers a rewarding challenge for riders of almost every ability level.
However, getting started can also be intimidating. A mountain bike behaves differently from a road or city bicycle, and beginners often make mistakes simply because they have not yet developed the skills, confidence, or trail awareness required for off-road riding.
The good news is that most beginner mistakes are easy to prevent. Learning the basics, practicing gradually, using the right equipment, and understanding how your bike responds to different terrain can make your rides safer and considerably more enjoyable.
Below are 10 common mountain biking mistakes beginners should avoid.
1. Choosing the Wrong Bike Size
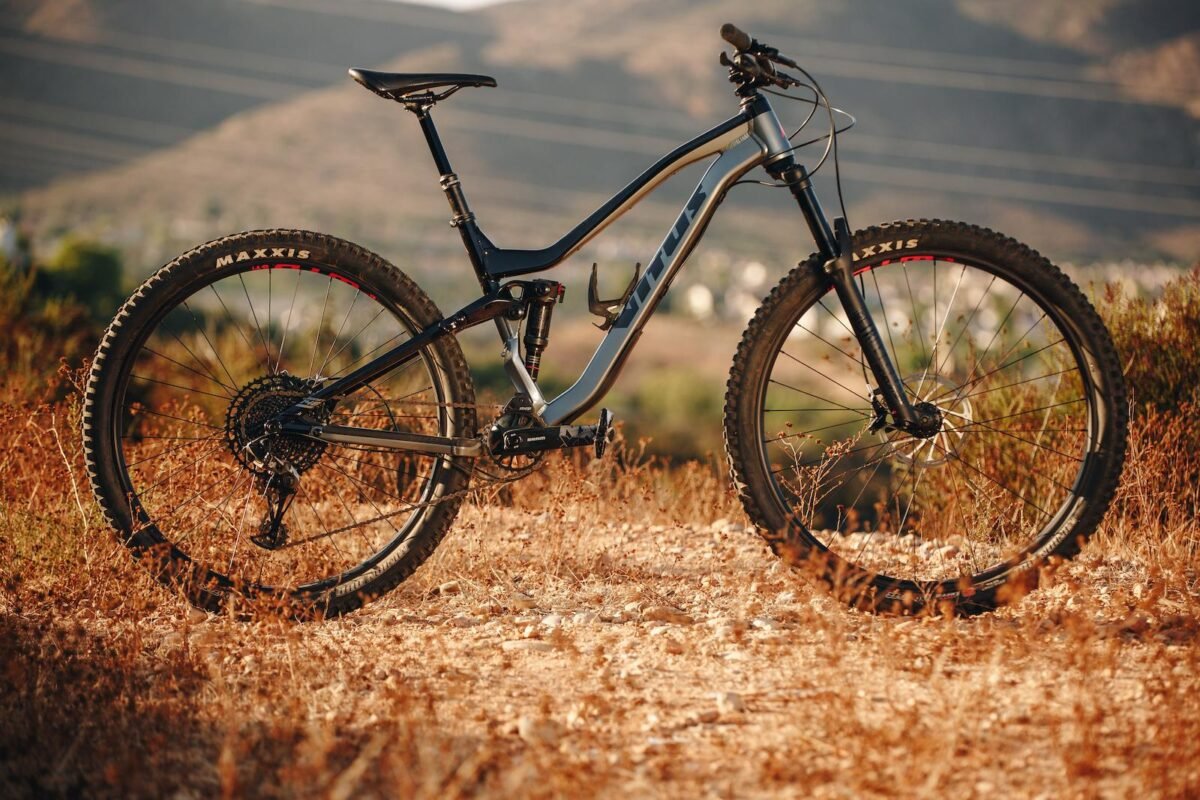
One of the first mistakes beginners make is riding a mountain bike that does not fit properly.
Bike size affects much more than comfort. A frame that is too large can make the bike difficult to control, while one that is too small may restrict your movement and make the bike feel unstable. Poor fit can also contribute to discomfort during longer rides.
A properly fitted mountain bike should allow you to reach the handlebars comfortably while maintaining a controlled riding position. Your saddle height should also be adjusted so that you can pedal efficiently without locking your knees.
How to avoid it
Before buying a mountain bike, check the manufacturer’s size chart and consider your height and inseam. Whenever possible, test ride the bike or have a professional bike shop help you determine the appropriate frame size.
Do not assume that a particular frame size will fit you simply because it worked for another rider. Body proportions vary, and mountain bikes can have different geometries even when they share the same nominal size.
A professional bike fit can be particularly useful if you plan to ride frequently.
2. Riding Without the Right Safety Gear
Mountain biking involves uneven surfaces, rocks, roots, branches, steep slopes, and unpredictable obstacles. Even experienced riders can fall, which makes appropriate protective equipment essential.
A common beginner mistake is assuming that a helmet is enough. While a properly fitted helmet is arguably the most important piece of protective equipment, other gear can improve comfort and protection.
Depending on the type of riding you do, useful equipment can include:
- A properly fitted bicycle helmet
- Cycling gloves
- Protective eyewear
- Knee pads
- Elbow pads for more technical riding
- Appropriate cycling clothing
- Sturdy mountain bike shoes
- Hydration equipment
Beginners should also carry basic repair supplies. A spare tube, tire levers, mini pump or inflation device, and a multitool can become extremely valuable when something goes wrong on the trail.
How to avoid it
Build your safety equipment gradually, but never compromise on a properly fitted helmet. Choose equipment appropriate for the trails and riding style you intend to tackle.
Remember that protective gear does not replace good riding technique. The goal is to combine appropriate equipment with responsible riding habits.
3. Using the Brakes Too Aggressively
Braking is one of the most important skills in mountain biking, but beginners frequently make the mistake of grabbing the brakes suddenly when they become nervous.
Sudden braking can upset the bike’s balance and cause the wheels to lose traction, particularly on loose gravel, wet roots, mud, or steep terrain.
Many riders instinctively rely heavily on the rear brake. Others squeeze the front brake too aggressively because they are afraid of gaining speed. Neither approach is ideal.
Mountain bike braking should generally be controlled, progressive, and deliberate.
How to avoid it
Practice braking in a safe, open area before attempting difficult trails.
Learn how both brakes feel independently and then practice using them together. Apply pressure smoothly rather than suddenly grabbing the levers.
When approaching a technical section, try to reduce your speed before entering it instead of waiting until you are already in the middle of the obstacle.
Good braking technique gives you more control and allows your tires to maintain traction.
4. Maintaining Poor Body Position
Your body position plays a major role in how your mountain bike handles.
Beginners often sit stiffly on the saddle, keep their arms straight, or lean too far forward. These habits can make the bike feel unstable and prevent the rider from responding effectively to changing terrain.
A good mountain biking position is active rather than rigid. Your elbows and knees should have enough flexibility to absorb bumps and allow the bike to move underneath you.
On descents, riders generally need to shift their body appropriately while keeping their center of gravity controlled. On climbs, maintaining traction over the rear wheel becomes especially important.
How to avoid it
Keep your elbows and knees slightly bent. Relax your upper body and maintain a comfortable grip on the handlebars without squeezing them excessively.
Look ahead instead of staring directly at the front tire. Your eyes should scan the trail for obstacles, turns, changes in surface, and possible lines.
Developing a balanced body position takes practice, but it will eventually become natural.
5. Looking Directly at Obstacles
One of the strangest but most important lessons in mountain biking is that where you look can influence where you ride.
When beginners see a rock, tree root, hole, or other obstacle, they often stare directly at it because they are worried about hitting it. Unfortunately, this can make it harder to choose an appropriate line around the obstacle.
Your bike tends to follow the direction of your steering and body movement, so visual focus matters.
How to avoid it
Instead of staring at the obstacle, identify it quickly and then look toward the path you want your bike to follow.
For example, if there is a rock in the center of the trail and a clear route around it, focus on the route rather than continuously staring at the rock.
This technique is sometimes called looking through the turn or looking where you want to go.
With practice, your eyes will begin scanning the trail naturally.
6. Attempting Trails That Are Too Difficult
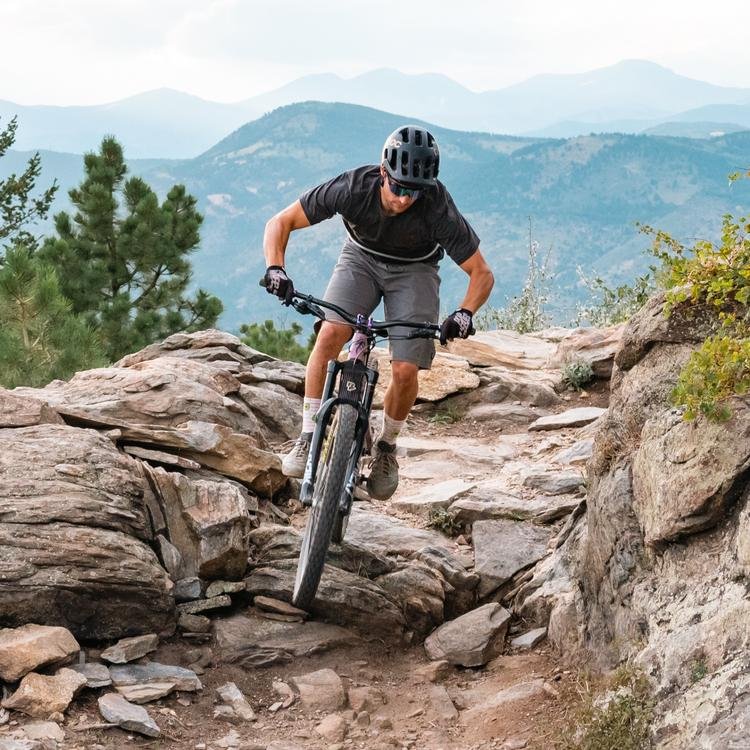
Mountain biking has trails for virtually every skill level, yet beginners sometimes feel pressure to ride difficult terrain before they are ready.
A technical trail can contain steep drops, large rocks, exposed sections, tight switchbacks, jumps, roots, and other challenges. Attempting terrain beyond your current ability can quickly turn an enjoyable ride into a dangerous situation.
There is no shame in walking a section.
Experienced mountain bikers frequently inspect difficult obstacles before deciding whether to ride them.
How to avoid it
Start with trails that match your experience level. Learn how your bike behaves on climbs, descents, turns, roots, and loose surfaces before moving to more technical terrain.
Progress gradually.
If a section looks beyond your ability, stop and evaluate it. You can always come back later when your skills and confidence have improved.
Mountain biking is not a competition. Your objective should be to finish the ride safely while developing your skills.
7. Forgetting to Check the Bike Before Riding
A mountain bike experiences considerably more stress than a bicycle used primarily on paved roads. Rocks, jumps, mud, vibration, and impacts can gradually loosen or damage components.
Beginners sometimes jump onto their bike and immediately head onto the trail without performing even a basic inspection.
A few minutes of preparation can prevent many avoidable problems.
How to avoid it
Before every ride, perform a quick safety check.
Inspect your tires and make sure they are appropriately inflated. Check that the brakes feel normal and that the wheels are securely attached.
Look over the drivetrain, suspension components, handlebars, and pedals for obvious problems.
You should also make sure that important bolts and components are secure according to the manufacturer’s specifications.
If you hear unusual noises or notice something that does not feel right, investigate before heading deep into the trail system.
Regular maintenance is just as important as the pre-ride inspection. Cleaning the drivetrain, lubricating the chain, checking brake pads, and servicing suspension components when required can help keep the bike operating properly.
8. Ignoring Tire Pressure
Tire pressure is one of the simplest adjustments that can dramatically affect mountain bike performance.
Beginners often inflate their tires too much because they assume higher pressure is always better. While higher pressure can reduce rolling resistance on smooth surfaces, excessive pressure can reduce traction and make the ride feel harsh on rough trails.
Very low pressure can create different problems, including increased risk of rim impacts and tire damage.
How to avoid it
Follow the tire manufacturer’s recommended pressure range and experiment carefully within that range based on your weight, terrain, tire setup, and riding style.
A heavier rider may require different pressure from a lighter rider. Trail conditions also matter. Rocky terrain, smooth hardpack, mud, and loose surfaces can each benefit from different setups.
If you use tubeless tires, learn the basics of tubeless maintenance and carry an appropriate emergency repair solution.
Finding the right pressure takes experimentation, but it can significantly improve traction, control, and comfort.
9. Failing to Bring Water, Food, and Basic Trail Supplies
A short ride can unexpectedly become a long one.
You might take a wrong turn, encounter a mechanical problem, stop frequently to navigate difficult terrain, or simply discover that the trail takes longer than expected.
Beginners sometimes carry only their phone and assume that is enough.
However, mountain biking can take you far from roads, buildings, and convenient sources of water.
How to avoid it
For longer rides, carry enough water for the expected duration and consider bringing additional hydration if conditions are hot.
Depending on the length and intensity of the ride, pack an appropriate snack such as an energy bar, fruit, or another convenient source of carbohydrates.
A basic trail repair kit should include items such as:
- Spare tube
- Tire levers
- Mini pump or inflation device
- Multitool
- Tubeless repair equipment if applicable
- Small first-aid supplies
- Phone
- Identification and emergency contact information
For remote rides, consider navigation equipment and additional supplies appropriate for the environment.
Preparation becomes especially important when riding alone.
10. Riding Beyond Your Limits
Perhaps the biggest mistake beginners make is confusing confidence with ability.
Mountain biking rewards progression. You will naturally become faster, stronger, and more technically capable as you ride more. But trying to prove yourself by riding something beyond your current skill level can lead to unnecessary crashes.
You do not need to clear every jump, descend every hill, or ride every obstacle simply because another cyclist did.
How to avoid it
Learn to recognize your limits.
If you are tired, slow down. Fatigue can reduce reaction time and coordination. If the trail becomes too technical, get off the bike and walk.
When learning a new skill, practice it in a controlled environment before attempting it at speed on a difficult trail.
Confidence should come from consistent practice rather than taking unnecessary risks.
Remember: walking an obstacle is a skill too.
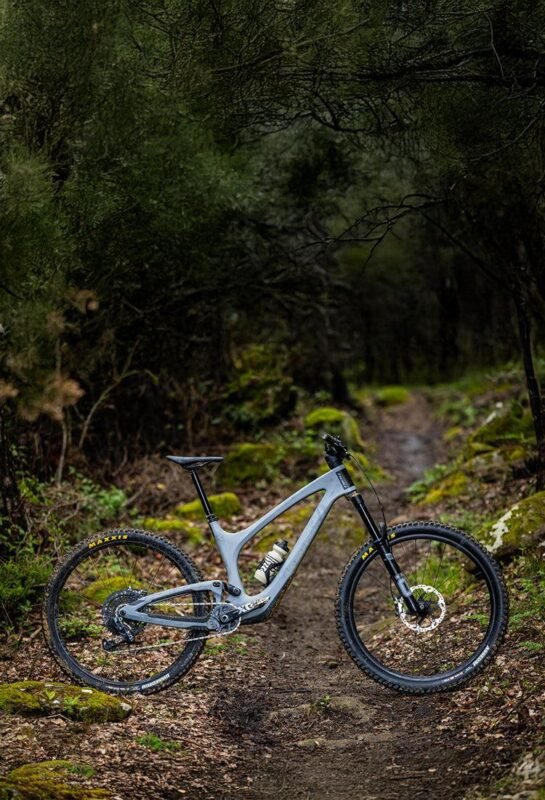
Bonus: 5 Habits That Can Make You a Better Mountain Biker
Avoiding mistakes is important, but developing good habits can accelerate your progress.
1. Practice the Basics
Spend time practicing braking, cornering, shifting, climbing, and descending. Basic skills become extremely valuable when the terrain becomes difficult.
2. Ride With More Experienced Cyclists
Riding with experienced mountain bikers can help you learn trail etiquette, line selection, bike handling, and maintenance.
Observe how experienced riders approach obstacles rather than simply trying to match their speed.
3. Learn Trail Etiquette
Be respectful of other trail users. Follow posted signs and local trail rules, yield appropriately, and avoid damaging trails.
Responsible riding helps preserve access to trails for everyone.
4. Maintain Your Equipment
A clean, well-maintained bike is generally more reliable and enjoyable to ride.
Develop a regular maintenance routine and follow the service recommendations for your specific bike and components.
5. Focus on Progress, Not Speed
Your first goal should be developing control and confidence.
Speed will come naturally as your technique improves.
Final Thoughts
Mountain biking is a sport that rewards patience, practice, and preparation. Beginners do not need to master everything immediately. In fact, trying to learn too much too quickly can create unnecessary risk and frustration.
The most important lessons are simple: choose a bike that fits, wear appropriate protective equipment, learn proper braking and body positioning, maintain your bike, carry enough supplies, respect trail difficulty, and know when to slow down or walk.
Most importantly, enjoy the process.
Every experienced mountain biker was once a beginner who struggled with loose corners, steep climbs, awkward descents, and technical obstacles. Skills develop through repetition. Each ride gives you an opportunity to understand your bike and the trail a little better.
Avoiding these common mistakes will help you build a stronger foundation, ride with greater confidence, and get more enjoyment from every mile of singletrack.
Ride smart. Ride within your abilities. Respect the trail—and most importantly, have fun.